I found this tutorial buried in a thread on http://www.kernriverflyfishing.com/. This was one of my favorite smallmouth patterns of 2013. Rich has come up with a real winner here. The Bobbing Baitfish swims and darts just like an injured minnow. The foam ensures the minnow will float forever and the flexi-cord/epoxy combo makes it almost completely bombproof.
Just a little note before you start reading... The recipe below calls for an epoxy overcoat over the Flexi-cord shell, but I use Hard as Hull and it words perfectly. Hard as Hull is so much easier to work with!
Just a little note before you start reading... The recipe below calls for an epoxy overcoat over the Flexi-cord shell, but I use Hard as Hull and it words perfectly. Hard as Hull is so much easier to work with!
Tutorial for the Bobbing Baitfish by Rich Osthoff:
Hook: 3x streamer
Thread: White and/or color to match tail
Body: Foam cylinder
Overbody: Mylar, Flexi-cord, or similar
Tail: Marabou blood quills
Eyes: Doll eyes
Coating: 5 or 30 minute epoxy
Body: Foam cylinder
Overbody: Mylar, Flexi-cord, or similar
Tail: Marabou blood quills
Eyes: Doll eyes
Coating: 5 or 30 minute epoxy
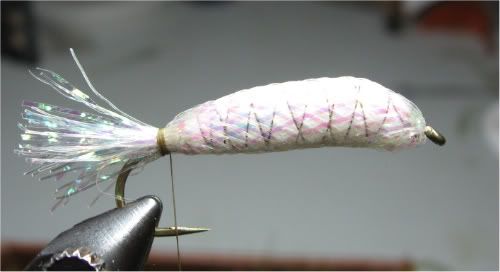
1. Prepare an appropriate size foam cylinder(for a #8, 3x hook I've been using a 3/16") and lash to the hook just behind the eye.
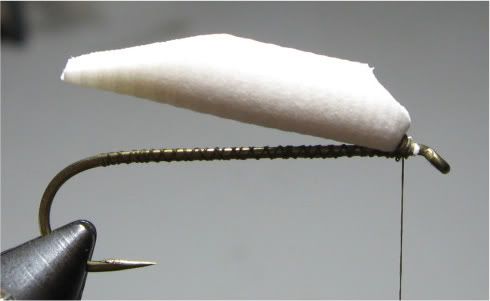
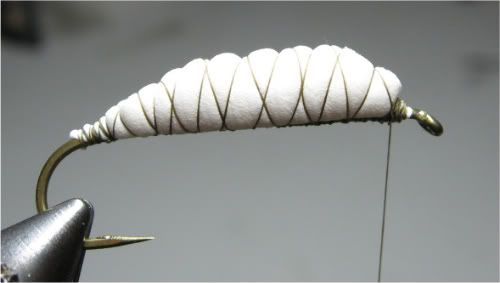
2. Wrap thread over body being careful not to compress too tightly the foam. Secure at the bend and wrap thread back to the eye shaping the body. (If using Flexi-cord or transluscent material cover hook shank and tie in foam with white thread. I used olive for visual purposes.)
3. Cut Mylar material about 1 and 1/2 times the length of the shank and attach to the hook behind the eye with the Mylar facing away from the shank. Half hitch and cut thread.
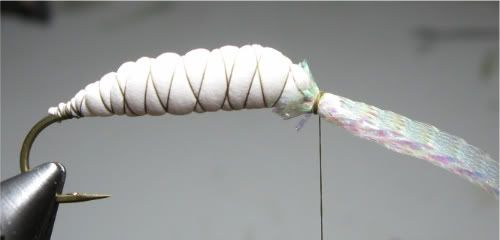
4. Gently invert Mylar back over itself and onto the body.

5. Pull the Mylar taught toward the rear of the hook.
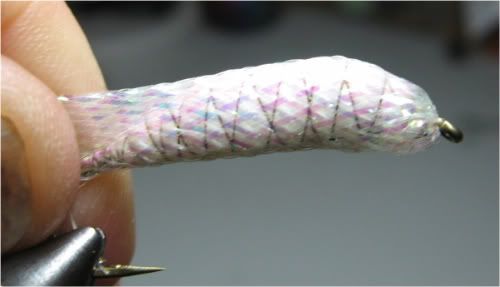
6. Reattach thread at the bend.
7. Attach a marabou tail with even tips about 1/2 the length of the hook shank.
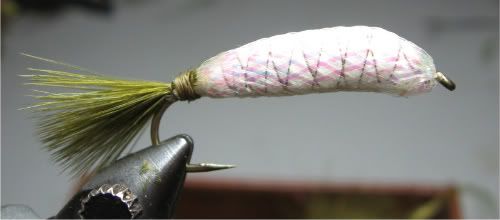
8. Color dorsal area with olive and/or black marker to enhance lateral line.

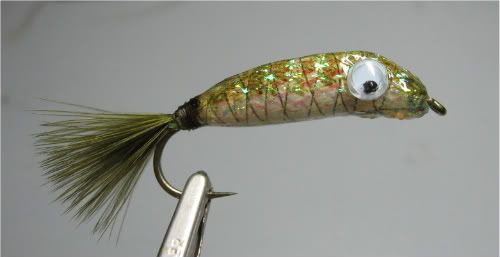
9. Coat with a thin layer of epoxy and attach doll eyes when epoxy is still tacky.( Do not overcoat with epoxy. It may add too much weight and sink the fly.)
No comments:
Post a Comment